
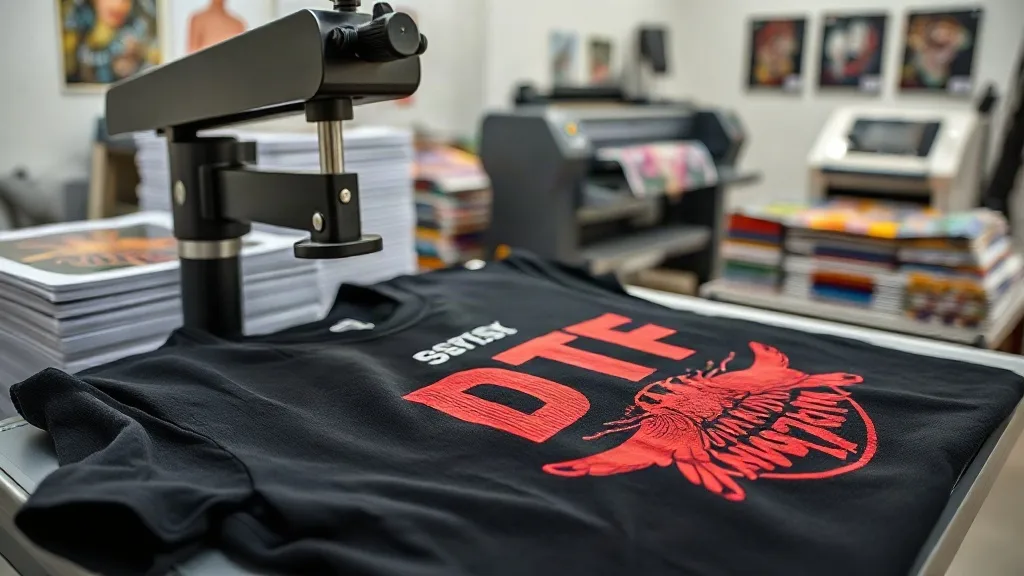
Custom apparel printing has evolved dramatically over the past decade, and one technology that has captured the attention of both hobbyists and professionals is dtf printing. Unlike traditional methods that require specific fabrics or complex setups, DTF offers a flexible, cost-effective solution for bringing detailed designs to life on a wide range of garments. Whether you're running a small print shop, managing a merchandise line for a band, or simply want to create personalized gifts, understanding DTF transfers can open up new creative possibilities.
In this guide, we'll walk through what DTF transfers are, how they compare to other printing techniques, and what you need to know to get started. By the end, you'll have a clear picture of why this method has become a go-to choice for many in the custom apparel industry.
What Are DTF Transfers?
DTF stands for Direct to Film. It's a printing process where your design is printed onto a special PET film using water-based pigments, then coated with a hot-melt adhesive powder. Once the powder is cured, the transfer is ready to be applied to fabric using a heat press. The result is a durable, stretchable print that bonds well to cotton, polyester, blends, and even some specialty fabrics like leather and nylon.
The key difference between DTF and other methods like DTG (Direct to Garment) or screen printing is the film intermediate. With DTF, you're not printing directly onto the garment; instead, you create a transfer that can be stored and applied later. This makes it ideal for on-demand production, small batches, and designs with fine details or gradients that might be tricky with other techniques.
Why DTF Transfers Are Gaining Popularity
There are several reasons why dtf transfers have become a hot topic in the printing community. Let's break down the main advantages.
1. Versatility Across Fabrics
One of the biggest headaches in apparel printing is matching the right ink to the right fabric. DTF sidesteps that issue almost entirely. Because the transfer sits on top of the fabric and adheres via the adhesive powder, it works on cotton, polyester, cotton-poly blends, and even untreated materials. This means you can offer a consistent product across different garment types without switching your entire workflow.
2. Vibrant, Detailed Prints
DTF printers use CMYK plus white ink, which allows for bright, opaque colors on both light and dark garments. The white ink layer acts as a base, so your colors pop even on black or navy shirts. Additionally, the process handles fine lines, small text, and photographic images with impressive clarity. If you've ever struggled with DTG on dark colors or screen printing with too many colors, DTF can be a game-changer.
3. Cost-Effective for Short Runs
Screen printing requires separate screens for each color, which adds setup costs and time. DTF eliminates that. You can print a single transfer or a hundred with the same setup, making it perfect for small businesses, personal projects, or test runs. The per-unit cost drops as you scale, but even for one-off designs, it's affordable.
4. Durable and Wash-Resistant
When applied correctly, DTF transfers hold up well to repeated washing. The adhesive powder creates a strong bond that flexes with the fabric, so prints don't crack or peel easily. Proper care, like washing inside out and avoiding high heat, can extend the life of the print even further. Many users report prints lasting as long as the garment itself.
How to Apply DTF Transfers
Applying a DTF transfer is straightforward, but following the right steps ensures a professional finish. Here's a quick rundown.
Step 1: Prepare Your Heat Press
Set your heat press to the temperature recommended by your transfer supplier, typically around 300-325°F (150-160°C). Pre-press the garment for a few seconds to remove moisture and wrinkles. This helps the transfer adhere evenly.
Step 2: Position the Transfer
Place the DTF transfer onto the garment with the printed side facing up. If your design has a white ink layer, it will be on the bottom, so the film should be on top. Use heat-resistant tape if needed to keep it in place.
Step 3: Press and Peel
Apply medium to firm pressure for 10-15 seconds. After pressing, you can either peel the film hot or cold, depending on the film type. Most modern DTF films are cold-peel, meaning you wait a few seconds for it to cool before removing the film. This prevents the design from stretching or smudging.
Step 4: Post-Press for Durability
For extra durability, some printers recommend a second press with a cover sheet for a few seconds. This helps the adhesive fully set and can improve wash resistance.
DTF vs. Other Printing Methods
To help you decide if DTF is right for your project, let's compare it to some common alternatives.
- DTF vs. DTG: DTG prints directly onto the garment and works best on 100% cotton. It can be faster for single items but often requires pre-treatment and struggles with polyester. DTF works on more fabrics and doesn't need pre-treatment, but requires a heat press and transfer application.
- DTF vs. Screen Printing: Screen printing is cost-effective for large runs but has setup costs per color. DTF has no color limits and no screens, making it better for detailed, multi-color designs and short runs.
- DTF vs. Vinyl: Heat transfer vinyl (HTV) is great for simple shapes and text but can't handle complex gradients or photos. DTF excels at full-color, detailed images and is often faster for intricate designs.
Common Challenges and How to Overcome Them
While DTF is user-friendly, there are a few pitfalls to watch out for.
Adhesion Issues
If the transfer doesn't stick, it could be due to insufficient pressure, wrong temperature, or a dirty garment. Always pre-press and ensure your heat press is calibrated. Using a infrared thermometer can help verify the actual platen temperature.
Color Accuracy
Colors may appear slightly different on fabric than on screen. It's a good idea to create a test print on similar fabric before a big order. Adjust your printer's color profiles if needed.
Film Selection
Not all DTF films are created equal. Some are designed for hot peel, others for cold peel. Using the wrong film for your workflow can lead to cracking or poor adhesion. Stick with reputable suppliers and follow their instructions.
Setting Up Your DTF Workflow
If you're considering adding DTF to your business, here's what you'll need:
- DTF Printer: A dedicated DTF printer with white ink circulation. Epson conversions are popular, but there are also purpose-built models.
- PET Film: Available in rolls or sheets. Choose a film compatible with your printer and desired finish (matte or glossy).
- Adhesive Powder: Typically TPU-based, applied evenly after printing.
- Curing Oven or Heat Press: To melt the powder. Some use a dedicated powder shaker and oven, but a heat press can work for small batches.
- Heat Press: For applying transfers to garments. A reliable press with consistent pressure and temperature is crucial.
Starting a DTF setup requires an initial investment, but many find it pays off quickly due to low material costs and versatility. If you're not ready to print yourself, you can order custom DTF transfers from service providers and still enjoy the benefits of the method.
Frequently Asked Questions
How long do DTF transfers last on a shirt?
With proper application and care, DTF prints can last for years. They typically outlast the garment itself if washed inside out in cold water and tumble dried on low. Avoid ironing directly on the print.
Can I use DTF transfers on 100% polyester?
Yes, DTF works well on polyester and polyester blends. In fact, it often adheres better to polyester than DTG. Just be mindful of the heat settings to avoid scorching the fabric.
Do I need a special printer for DTF?
You can convert certain Epson printers for DTF, but dedicated DTF printers are available and recommended for consistent results. They handle white ink and film feeding more reliably.
What's the difference between hot peel and cold peel DTF film?
Hot peel film is removed immediately after pressing while still hot. Cold peel film is allowed to cool before peeling. Cold peel is more common and forgiving, but check your film's instructions.
Can I layer DTF transfers?
Yes, you can layer DTF transfers, but it's best to apply the bottom layer first, press briefly, then add the top layer and press again. This ensures proper adhesion without over-pressing.
DTF printing is not just a trend; it's a practical solution that addresses many of the limitations of older methods. Whether you're a DIY enthusiast or a growing apparel brand, exploring DTF transfers could be the key to unlocking new creative and business opportunities. With the right knowledge and tools, you can produce high-quality, durable prints that delight customers and keep them coming back.