
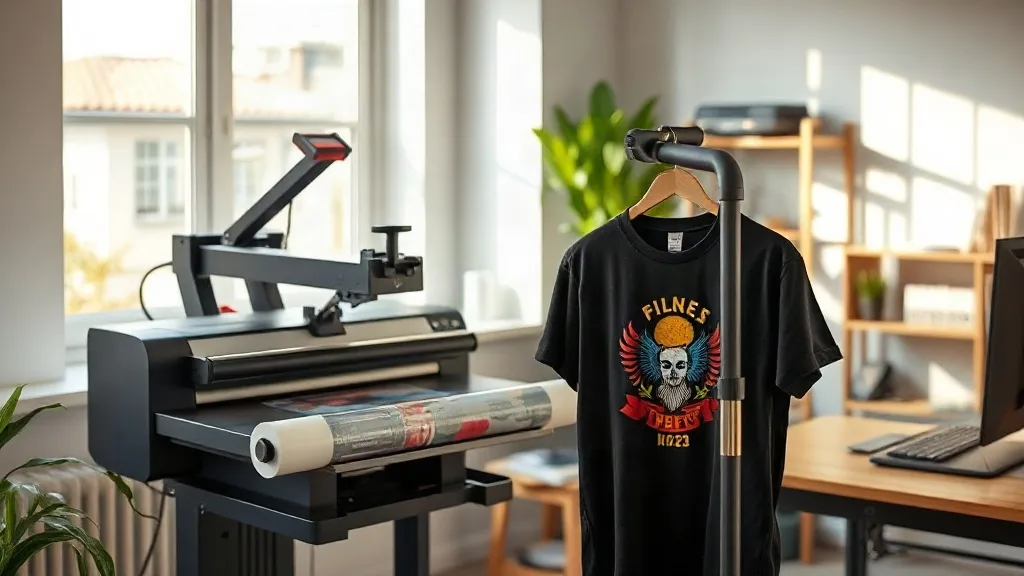
When it comes to custom apparel printing, the options can be overwhelming. Screen printing, heat transfer vinyl, sublimation, and more recently, dtf transfers. Each method has its strengths, but DTF (Direct to Film) printing has quickly gained popularity for its versatility, vibrant colors, and ease of use. Whether you're a small business owner looking to expand your product line or a DIY enthusiast wanting to create custom t-shirts for a family reunion, understanding DTF transfers can open up a world of possibilities. In this guide, we'll walk you through what DTF transfers are, how they work, and why they might be the perfect solution for your printing needs.
What Are DTF Transfers?
DTF stands for Direct to Film. It's a printing technology where a design is printed onto a special film, coated with a adhesive powder, and then heat-pressed onto a fabric. Unlike other methods that require specific fabrics or pre-treatment, DTF transfers can be applied to a wide range of materials, including cotton, polyester, blends, and even leather. The process involves a DTF printer that uses pigment-based inks to print the design onto a PET film. After printing, a powdered hot-melt adhesive is applied to the wet ink, and the film is cured. The result is a transfer that can be stored and used later. When you're ready to apply it, you simply place the film on your garment and press it with a heat press. The adhesive melts and bonds the ink to the fabric, creating a durable, vibrant print.
Why Choose DTF Transfers Over Other Methods?
If you're familiar with other printing techniques, you might wonder what sets DTF apart. Here are some key advantages that make DTF transfers a compelling choice for both beginners and professionals.
Versatility with Fabrics
One of the biggest headaches in apparel printing is matching the right method to the fabric. Vinyl doesn't stick well to polyester, sublimation only works on light-colored synthetics, and screen printing requires specific mesh counts and inks for different materials. DTF transfers, however, adhere beautifully to almost any fabric. Whether you're printing on a 100% cotton t-shirt, a polyester hoodie, or even a canvas tote bag, DTF transfers deliver consistent results. This versatility means you don't have to stock multiple types of materials or turn down orders because of fabric limitations.
No Weeding or Cutting Required
If you've ever worked with heat transfer vinyl (HTV), you know the tedious process of weeding out tiny details from the carrier sheet. It's time-consuming and can ruin a design if you accidentally cut through a thin line. DTF transfers eliminate that step entirely. Your design is printed on the film, and the adhesive powder is applied, so there's no weeding, cutting, or layering. You simply press the transfer onto the fabric, wait for it to cool, and peel off the film. This saves hours of labor, especially for intricate designs with fine details or multiple colors.
Vibrant, Durable Prints
DTF transfers are known for their bright, opaque colors. Because the ink is printed on a white adhesive layer, the colors pop even on dark fabrics. Unlike sublimation, which requires a light-colored substrate, DTF can print white ink, making it ideal for black or navy garments. The prints are also highly durable. When applied correctly, they withstand repeated washing without fading, cracking, or peeling. This durability makes DTF transfers suitable for items that get heavy use, like sports jerseys, work uniforms, and promotional apparel.
Cost-Effective for Short Runs
For small businesses or individuals, the setup costs of screen printing can be prohibitive. Each color in a screen print requires a separate screen, and the setup can run into hundreds of dollars. DTF transfers, on the other hand, have no minimum order quantity. You can print one transfer or hundreds, and the cost per transfer remains relatively low. This makes DTF an excellent choice for print-on-demand businesses, personalized gifts, and sample runs. You can test a design without committing to a large inventory, and if it sells well, you can scale up production without changing your process.
How to Apply DTF Transfers: Step-by-Step
Applying DTF transfers is straightforward, but following the correct steps ensures a professional finish. Here's a detailed guide to help you get it right every time.
Step 1: Prepare Your Workspace
Set up your heat press on a sturdy, heat-resistant surface. Ensure the press is level and the platen is clean. You'll also need a heat-resistant tape or spray adhesive to keep the transfer in place during pressing. Make sure your garment is free of wrinkles and lint. A quick pre-press for a few seconds can remove moisture and wrinkles, providing a smooth surface for the transfer.
Step 2: Position the Transfer
Place the DTF transfer on the garment with the printed side facing up. The adhesive side (which feels slightly tacky) should be against the fabric. Use heat-resistant tape to secure the transfer if it tends to shift. For precise placement, you can use a ruler or a centering tool. Remember that the design will appear as a mirror image on the film, so don't be alarmed if the text looks reversed.
Step 3: Heat Press Settings
DTF transfers typically require a temperature of 300°F to 330°F (150°C to 165°C) and medium to high pressure. The exact settings can vary depending on the film and adhesive used, so always check the manufacturer's recommendations. As a general rule, press for 10 to 15 seconds. Some transfers may require a second press after peeling the film, known as a post-press, to further cure the ink and improve washability.
Step 4: Peel the Film
After pressing, allow the transfer to cool completely before peeling. You can either wait for it to cool naturally or use a cold peel technique by placing a cool cloth over it. Peeling while hot can cause the design to stretch or lift. Once cool, slowly peel the film from one corner. If any part of the design lifts with the film, press it again for a few seconds. The result should be a smooth, vibrant print that's firmly bonded to the fabric.
Step 5: Post-Press (Optional)
For added durability, place a Teflon sheet or parchment paper over the printed area and press again for 5 to 10 seconds. This step ensures the adhesive is fully melted and the ink is set. It's especially recommended for garments that will be washed frequently.
Common Mistakes to Avoid with DTF Transfers
Even though DTF is forgiving, some pitfalls can ruin your results. Here are a few mistakes to watch out for and how to prevent them.
- Insufficient Pressure: If the pressure is too low, the adhesive won't bond properly, leading to peeling. Adjust your heat press to medium-high pressure and test with a scrap fabric.
- Wrong Temperature: Too hot and the film may warp or the ink may scorch; too cold and the adhesive won't melt. Use an infrared thermometer to verify the platen temperature.
- Peeling Too Soon: Patience is key. Peeling while the transfer is still hot can stretch the design or leave adhesive residue on the film.
- Not Pre-Pressing the Garment: Moisture and wrinkles can prevent proper adhesion. Always pre-press for 5-10 seconds before applying the transfer.
- Using the Wrong Film: Not all DTF films are created equal. Choose a film that matches your printer and adhesive for best results.
DTF Transfers vs. Other Printing Methods: A Quick Comparison
To help you decide if DTF is right for your project, here's a side-by-side comparison with other popular methods.
- DTF vs. Screen Printing: Screen printing is cost-effective for large orders but requires setup and is limited to certain fabrics. DTF has no minimums and works on almost any fabric, making it ideal for small batches and complex designs.
- DTF vs. HTV: HTV requires weeding and layering, which is time-consuming. DTF is a single-step press with no weeding, and it can handle fine details and gradients that HTV cannot.
- DTF vs. Sublimation: Sublimation only works on light-colored polyester and requires a special coating. DTF works on dark colors and cotton, with vibrant white ink.
- DTF vs. DTG: DTG (Direct to Garment) prints directly onto the fabric, but it requires pre-treatment and works best on 100% cotton. DTF is more versatile and often produces more durable prints on blends.
Getting Started with DTF Transfers
If you're ready to dive into DTF printing, here's what you'll need. First, a DTF printer. These are specialized printers that use pigment inks and a white ink channel. They can be a significant investment, but for a growing business, they pay for themselves quickly. Alternatively, you can order DTF transfers from a supplier and apply them yourself with a heat press. This is a great way to start without a large upfront cost. You'll also need a heat press, DTF film, adhesive powder, and a curing oven or heat gun. Many suppliers offer starter kits that include everything you need. As you gain experience, you can experiment with different films, powders, and techniques to achieve the perfect finish.
Frequently Asked Questions About DTF Transfers
Can I use DTF transfers on dark-colored shirts?
Absolutely. DTF transfers are actually ideal for dark fabrics because they include a white ink layer that makes colors pop. The white adhesive also helps the design stand out on black, navy, or other dark colors.
How long do DTF transfers last?
When applied correctly and cared for properly, DTF transfers can last as long as the garment itself. They are resistant to cracking, peeling, and fading. To maximize longevity, wash the garment inside out in cold water and avoid using bleach or fabric softeners.
Do I need a special printer for DTF transfers?
Yes, DTF printing requires a printer that uses DTF pigment inks and has a white ink channel. However, if you don't want to invest in a printer, you can purchase pre-printed DTF transfers from a supplier and apply them with a heat press.
What fabrics work best with DTF transfers?
DTF transfers work on a wide range of fabrics, including cotton, polyester, cotton-poly blends, nylon, and even leather. They are not recommended for fabrics with a heavy texture or those that cannot withstand heat, such as some nylons or delicate synthetics.
How do I store unused DTF transfers?
Store unused DTF transfers in a cool, dry place away from direct sunlight. Keep them in a sealed bag or container to prevent dust and moisture from affecting the adhesive. Properly stored transfers can last for several months.
DTF transfers have revolutionized the custom apparel industry by offering a versatile, durable, and cost-effective printing solution. Whether you're a seasoned professional or just starting out, incorporating DTF into your workflow can expand your capabilities and delight your customers. With the right knowledge and tools, you can achieve professional-grade results that stand the test of time.